Setting up a Tray Icon Alert
The Tray Icon alert is a very handy alert that changes the MultiPing tray icon to red when the alert has fired, and can also display a popup from your system tray; providing a quick way to be notified if something is happening while you're in front of your computer.
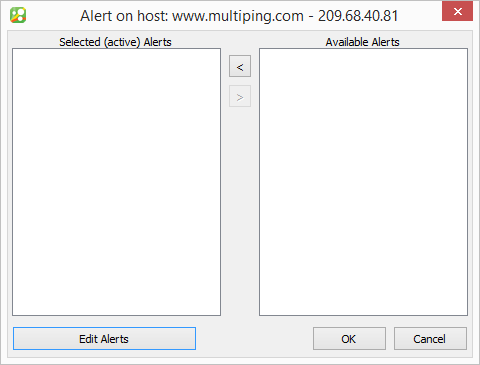
To get started - select a target that you've been monitoring, right click on it, and select "Watch this Target (Alerts)..." After doing this, you should have a dialogue box like the one below:

Click on the "Edit Alerts" button - and then you'll see the Alert Setup screen. You can also access this area in MultiPing by going to "Edit" -> "Alert Setup."
Click on the "New" button in the lower left hand corner, and then give your alert a meaningful name (we'll be using "Tray Alert" in this example). Go ahead and set the "Method" to "Latency and Packet loss (default)" while you're here as well.
 Seeing as how we're practicing our alert building skills here - we want to make sure this alert fires (and does so quickly). We can adjust the parameters to set up the alert so it's pretty much guaranteed to "fire." For this exercise, we recommend using the following parameters in the "Condition" fields:
- - Samples to Examine: 10
- - Alert When: 10 or more samples are over 5ms
Now that we've specified the conditions that we'd like the alert to notify us of - we can select which event we'd like to occur when those conditions arise. Set the "Event Type" to "Tray icon change/notification" - and enable the options to "Change default icon to red during alert conditions" and "Popup message in tray."
You'll notice that you can also specify what message MultiPing pops-up in the message tray. There are some text variables that you can use in this field to help make your alert a bit more useful if you're using it across several different targets. Here, we'll be using "$Host" (which will be replaced with that target's specific host name or IP address) - but be sure to check out the variable substitution portion of our product manual to see the other options that are available.
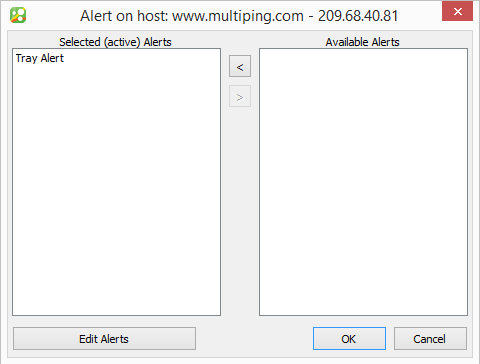
Now that we've got everything configured - go ahead and hit the "OK" button. You'll now be returned to the original alert dialogue box (unless you got to the alert setup via the "Edit" - > "Alert Setup" path). You'll now notice that the alert you just created is now listed under the "Available Alerts" section. Your work isn't quite finished yet, though. From here, you need to associate your alert to your target - which can be done by highlighting the alert, and hitting the right arrow button to move it to the "Selective (active) alerts" section. Now you can hit the "OK" button to finish assigning the alert.

 MultiPing should now have put an "[A]" on the target that you've assigned the alert to. If you don't see this - then something happened, and the alert did not get assigned properly to that target.
 We set up this alert to have conditions that should fire quickly - but you can always speed it up a bit by dropping the trace interval down to one second. Once the alert fires, you'll notice an exclamation mark appear next to the "[A]" on your target, there will be a popup message from your system tray, and the MultiPing icon in the tray will be red. Congratulations - you've just successfully created an alert!
Remember that alerts can be tied to multiple targets. If you want to tie this alert (or any other alert you create from here on out) to other targets - you can always do so by right clicking on a target, selecting "Watch this host (alerts)..." and moving any alerts you'd like to associate from the "Available Alerts" to the "Selected (active) alerts."
